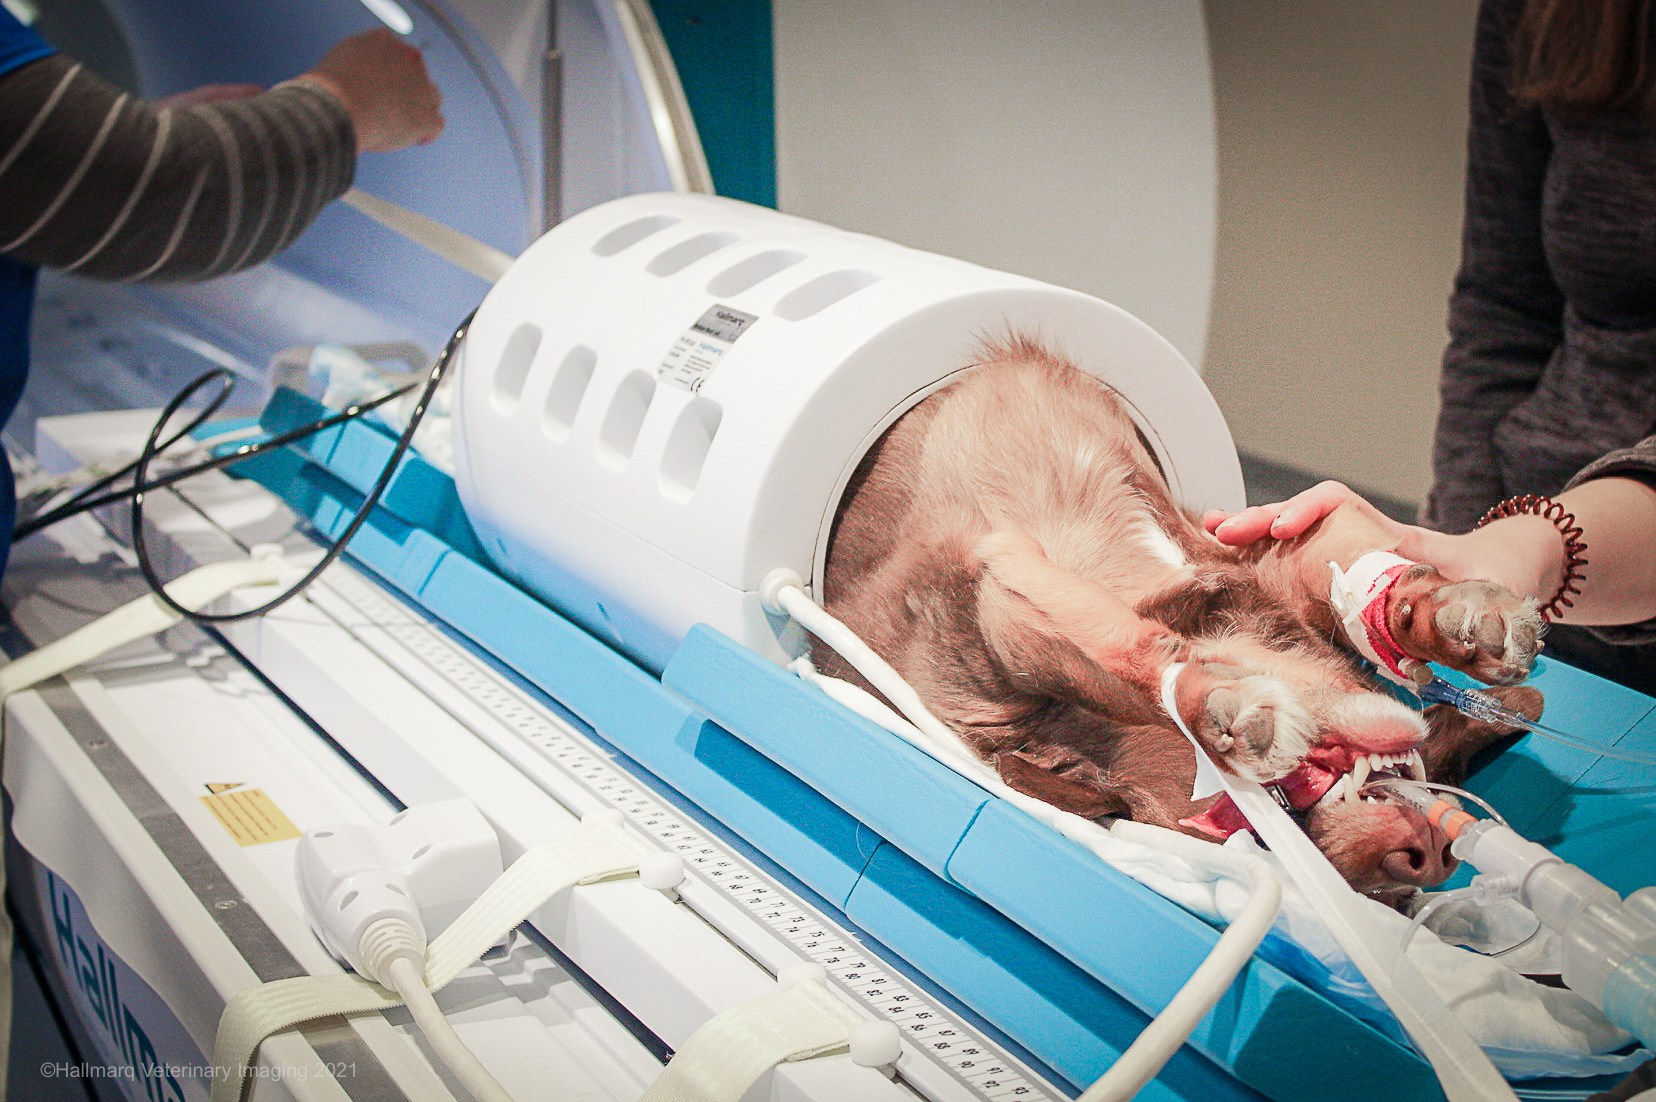
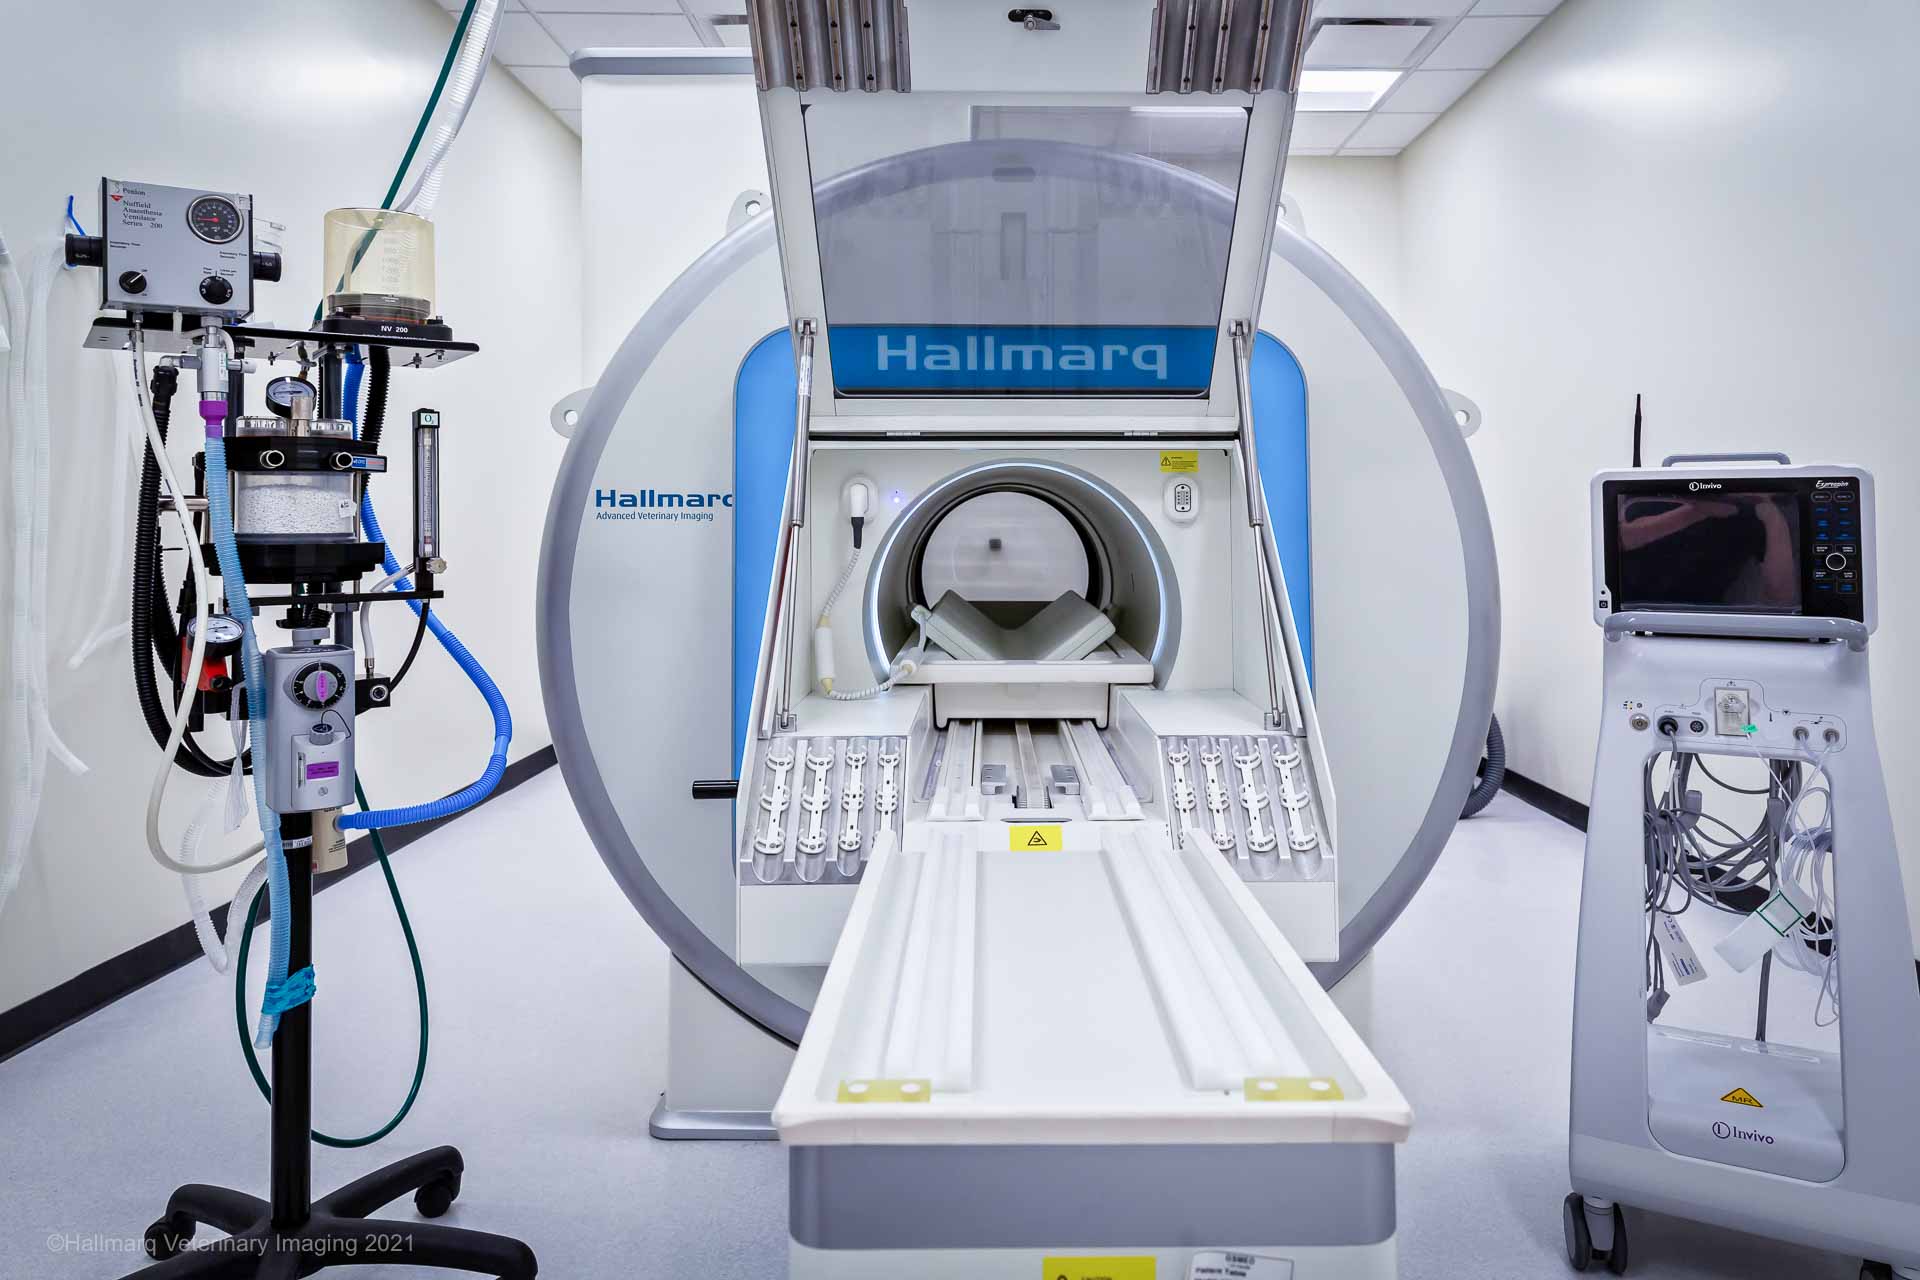
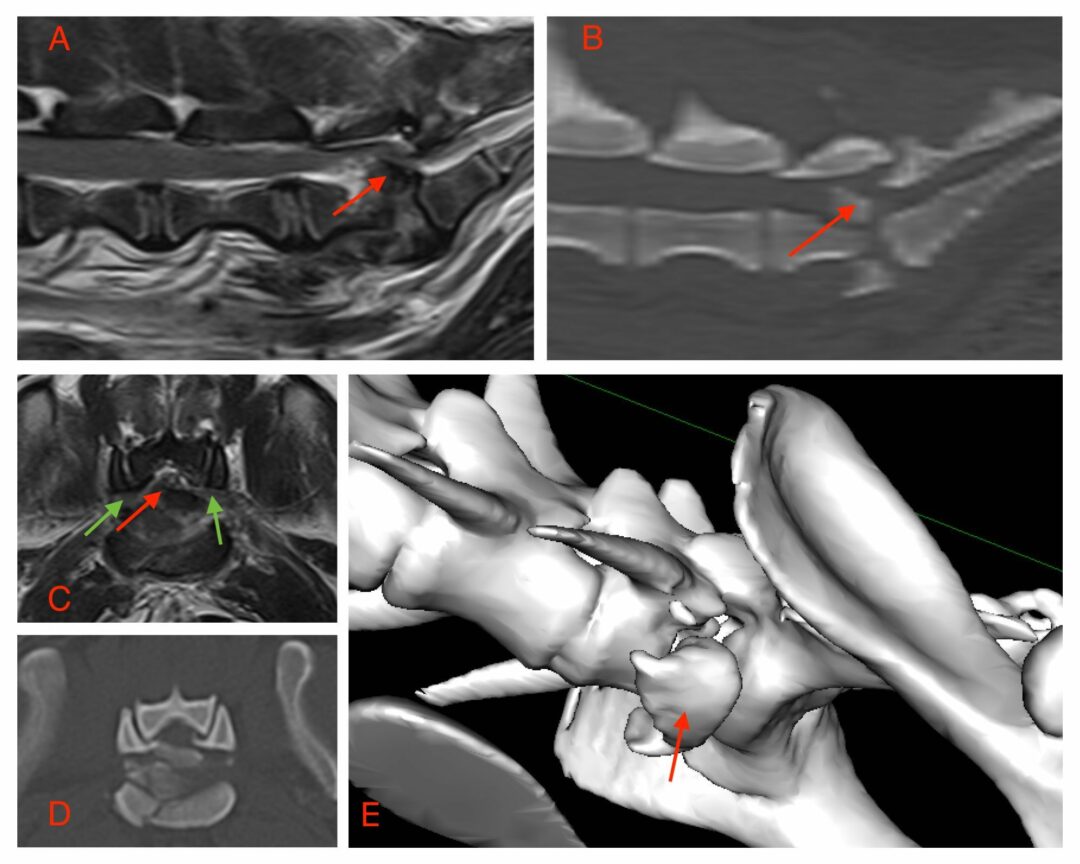
Proper positioning of cats and dogs for MRI is a critical factor in achieving quality images. High-field MRI provides high-quality images, greatly improving your veterinary practice’s diagnostic abilities. At least, that’s what should happen! However, MRI is a complex system and achieving good diagnostic images requires more than just quality equipment. Knowing how to use and optimize your system to achieve the best results, is well advised.
Poor alignment can lead to distortion of normal anatomy, reducing the diagnostic quality of your images. Positioning is particularly vital for canine MRI patients. Navigating the vast differences in anatomy across breeds requires a practiced understanding of the MRI system’s capabilities and protocols.
Here are some tips for positioning cats and dogs for optimal MR imaging:
Position the area of interest in the isocentre
The isocenter is the centre of the MRI bore which will produce the highest quality images. The isocentre is where the signal quality and magnetic field homogeneity is optimal. When placing the patient on the MRI table, ensure the area you want to image is within the isocentre.
Depending on the patient’s breed and size, you may not be able to get the entire area of interest in a single scan plane. A Newfoundland dog, for instance, might require repositioning during the MRI scan to complete a spinal study. As you reposition the patient for the next imaging area, check the anatomic orientation and alignment matches the previous study. Also, slight overlapping of anatomic areas (i.e. the cranial thoracic and caudal thoracic spine) ensures adequate coverage of the area of interest and eliminates the potential of areas of interest not being imaged.
Determine the patient’s anatomic orientation
Positioning the MRI patient for proper alignment should never be rushed. Taking the time to position the patient will ultimately save far more time than having to start over when you realise the images you produced are not diagnostic quality or are not imaging the region of interest.
If there is sidedness to the imaged region, evaluate for symmetry. For example, in a brain study, evaluate the patient is aligned and the anatomic areas are symmetric between the two sides (i.e., are the temporomandibular joints and orbits aligned). Proper alignment will increase the confidence that asymmetry of a brain structure is due to a pathologic lesion and not from poor patient positioning.

Use a localiser to check positioning
Dog MRI patients should be aligned along the sagittal, transverse and dorsal planes. Once the patient is positioned in the MRI, using a localiser in all three planes enables you to plan the sequence with greater precision. Once the patient is positioned ask yourself the following questions:
- Are you satisfied that you have the patient in the anatomic plane that you want?
- Is the patient correctly positioned and well-aligned?
- Will this positioning result in a good diagnostic study?
After the localiser, consider starting with a T2 sagittal sequence, a foundation scan providing a global view of the anatomy, region of interest and surrounding structure.
Account for artefacts from respiratory motion and stimulation
Respiratory motion can impact image quality, even if the patient is under anaesthesia. Proper positioning of your small animal MRI patient can minimise artefact related to respiratory motion. For example, if the patient is receiving an MRI for a spinal cord injury, respiratory motion can be alleviated or minimised by placing the patient in dorsal recumbency. This will minimise movement of the spine, significantly improving the image quality.
It should be noted the MRI is very loud which can understandably disturb the patient, so the use of earplugs will not only protect from hearing loss but will also reduce stimulation and the potential of the patient waking up during the study.
Select the right coil for your veterinary MRI patient
It is essential to find the right coil that fits the patient to minimise gaps between the coil and the animal’s body, which can cause signal loss. The coil you select should complement the patient’s size and breed as well as the region to be imaged. Larger dog MRI patients, such as a Great Dane, require a different coil size than toy breeds.
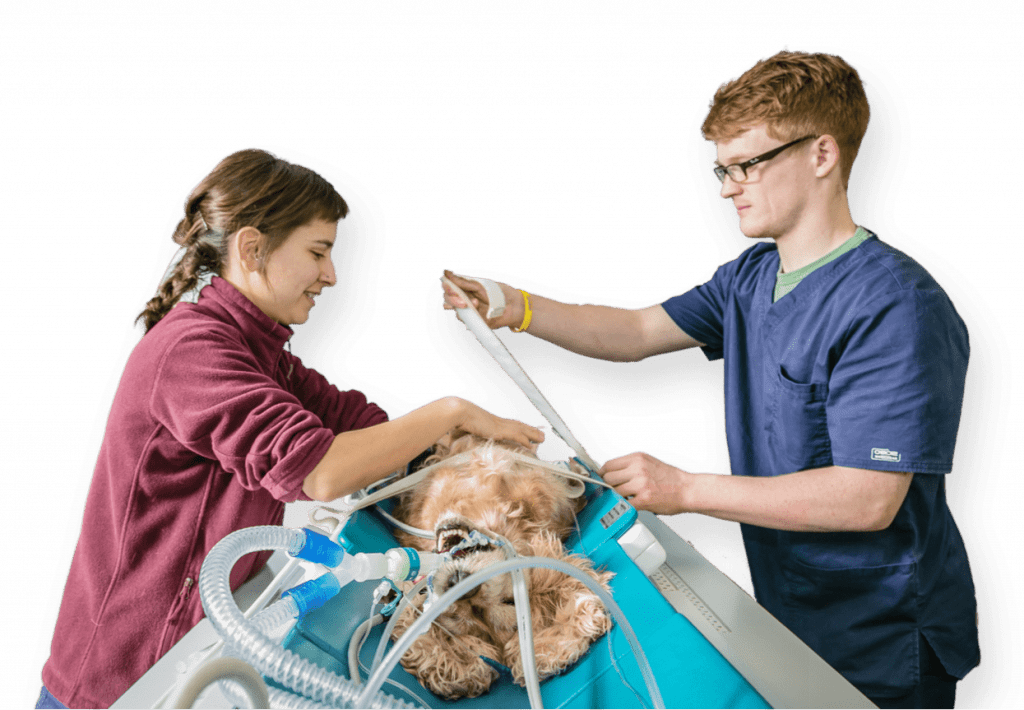
Any cables in the MRI bore should not be looped or placed directly on the patient or coil. By following these guidelines will prevent electrical artifact and thermal burns.
Use weights and restraints
MRI-safe sandbags, restraining pads, straps and tape can help to minimise movement so the patient doesn’t shift during the study. What you use will vary depending on the breed and size of your canine or feline MRI patients and the region of the body being imaged.
Whatever you utilise, make sure the restraining devices are MRI-compatible. If the patient requires heat support, ensure the material is MRI compatible. Don’t use heated water bags, for instance, which can result in thermal burns and may interfere with image acquisition. Veterinary MRI systems often include straps as a component of the table.
Conclusion
A recurrent theme canine and feline MRI is the importance of proper positioning. Poor alignment can cause strain on the magnetic field and distort normal anatomy which can complicate interpretation and diagnosis. It may require time to achieve optimal alignment, but it also enables you to get the image quality you need on the front end, which will result in making a diagnosis on the back end. This helps you reduce the time to treatment, giving your patient a better prognosis.
