


Scanning the proximal limb of the standing sedated horse can prove challenging. Thorough preparation of the horse before and during the MRI scan, the importance of teamwork, adoption of best techniques for optimal image acquisition, and the need for quick decision making throughout the process will all pay dividends.
This comprehensive overview on how best to scan the proximal limb is adapted from a presentation made at Hallmarq Veterinary Imaging’s Equine User Meeting, Chamonix, 2025, by Rachel Pokora, Imaging Technician at Rossdales Veterinary Surgeons, with an introduction by Dr. Rachel Murray, MA VetMB MS PhD Dip ACVS Assoc EDVDI MRCVS, Head of Equine Clinical Support at VET.CT.
An introduction to the challenges of proximal limb scanning
By Dr. Rachel Murray MA, VetMB, MS, PhD, Dip ACVS, Assoc ECVDI, MRCVS, RCVS Recognised Specialist in Equine Orthopaedics, Head of Equine Clinical Support at VET.CT, Diplomate, American College of Veterinary Surgeons, Associate, European College of Veterinary Diagnostic Imaging, Consultant and Veterinary Specialist, Rossdales Veterinary Surgeons.
For various reasons, proximal limb imaging can be particularly challenging, and we hope to address some of those concerns in this practical overview. Firstly, motion is more problematic as we go proximal in the limb; it’s further away from the foot so there is more range of movement and easy to get motion artefacts. The window of opportunity in which to acquire the scans is limited – because there is a finite period before the patient starts to move!
In addition, once the horse is in place, magnet location can be tricky. Fitting the MRI magnet up between the legs of the patient can prove an issue for some horses, depending on their conformation. To help minimise some of those factors, there are key areas to consider which will help in image acquisition when scanning the proximal limb. These include:
- Preparation of the patient both outside and inside the MRI room
- The importance of teamwork and horse handling for image optimisation
- The best techniques for image acquisition
- Lesion spotting and the need for quick decision-making
Advanced imaging: sharing insights
Imaging Technician Rachel Pokora has been with Rossdales Veterinary Surgeons for 22 years. With sixteen of those years spent working in the Advanced Imaging Department, Rachel has a wealth of experience in acquiring the best quality images when scanning the proximal limb. Always looking to obtain the best outcome for the patient, client, and those reading the images, Rachel outlines the protocols around how to do that quickly, efficiently, and effectively.
Optimising image acquisition
Planning ahead
Thorough preparation is essential when preparing for standing MRI and that starts with the patient’s background information:
Understand the horse’s history – engaging with clinicians to clarify whether the focus is on bone, soft tissue, or both can help direct sequence selection and scanning protocols.
Knowing how the horse behaved during workup – whether the patient was cooperative or challenging must be considered to ensure team members are not put into unsafe situations. Horses with difficult temperaments may require additional planning, such as adapting image acquisition techniques or ensuring a strong team is available to manage the horse.
Skilled staff
The success of imaging a horse doesn’t solely depend on the skill of the MRI operator. Whilst the operator’s expertise in setting up and managing the scan is crucial, the role of the horse handlers is equally as important. They play a critical role in understanding the goals of the scan, managing sedation, and minimizing motion – all of which are vital to image acquisition. Their knowledge of how the horse’s behaviour, posture, and sedation impact the outcome contributes significantly to the success of the procedure. Teamwork between handlers and operators is essential for smooth, effective scans.
Preparation of the patient: outside the MRI room
Time to relax – horses arriving for imaging need adequate time to settle after travel. Stable rest ahead of the procedure gives them time to relax, eat, drink, and urinate before the scan begins. A tired horse will not be able to stand still for long periods, so avoid scanning after a full day of diagnostics.
Review sedation – if possible, prior sedation should be avoided to ensure the horse is responsive to the tailored sedation protocol administered for the scan procedure. If the horse is in pain, however, appropriate pain relief should be administered before scanning.
Assess fitness and stability – a fit, well-muscled horse can maintain its stance longer than one in poorer condition and the individual patient’s ability to stand should be considered.
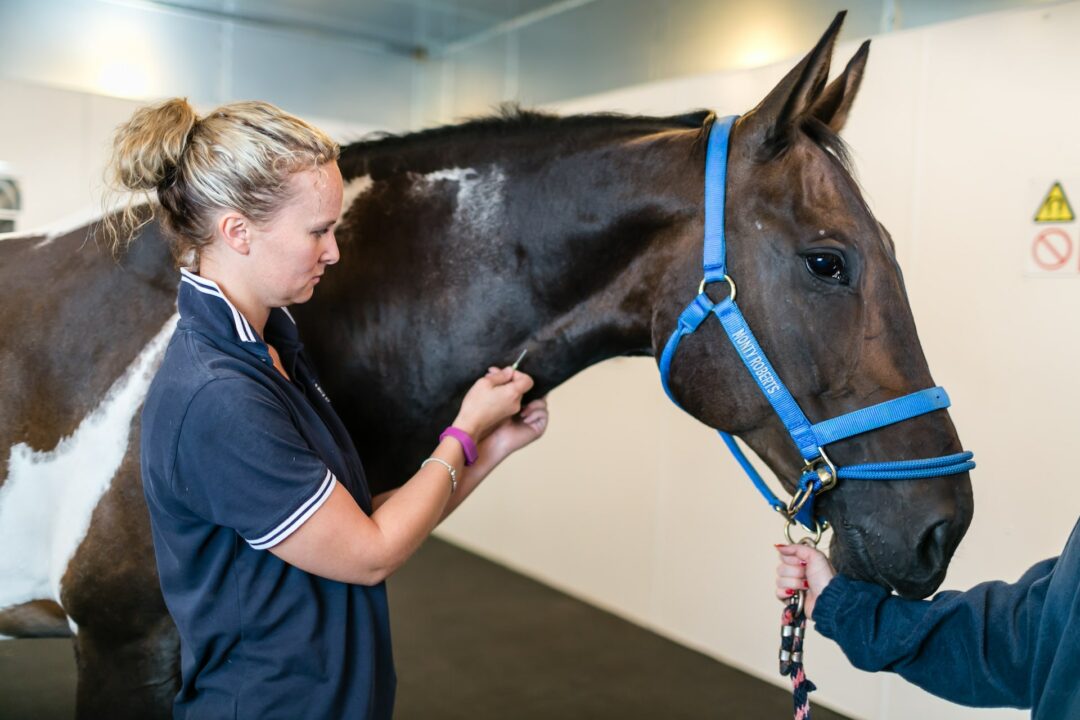
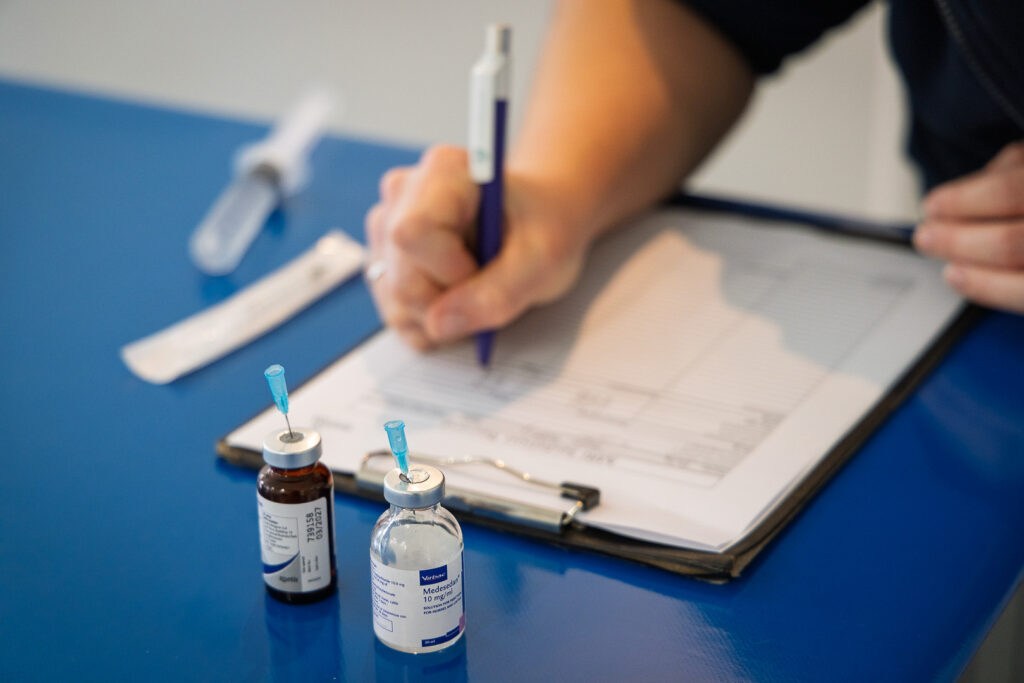
The preparation process should include cleaning the limbs, removing shoes, and marking the skin if needed to help correlate MRI with any previous imaging, such as ultrasound.
Assessing the patient
Before scanning the proximal limb, the horse should be allowed to stand as naturally as possible. Watch and correct for:
- Toe-out – If a horse naturally stands toe-out, manipulating the stance could cause discomfort but should be corrected if possible
- Narrow chest – in this scenario, the horse’s legs will have to be positioned base wide to accommodate the magnet
- Sinking fetlocks or other postural differences should be imaged in a way that accommodates their stance.
These considerations ensure the horse is comfortable, reducing the likelihood of movement during the scan.
Sedation
The right balance of sedation is critical, particularly when imaging the hindlimbs, where excessive motion can compromise safety and image quality. Handlers are responsible for monitoring the horse’s level of sedation and adjusting or requesting adjustment as needed.
Ideally, sedation adjustments should be made at the end of a sequence rather than mid-sequence to avoid motion artefacts. For especially anxious horses, ACP (acepromazine) may be useful, administered 30 minutes before entering the MRI room to ensure a calmer patient.
Handling of the patient during scanning
Correct handling throughout the scan can make the difference between diagnostic and non-diagnostic images:
- Even weight distribution is crucial for clear imaging, especially when scanning forelimbs.
- Head position must be stable. While adjusting the height of the head support is not possible for most horses, exceptions can be made for smaller patients such as Shetlands.
- Contralateral limbs, repositioning the other leg (forward, backward, or slightly raised) can help shift weight onto the leg being scanned, ensuring the images are clear and diagnostic.
In some cases, creative solutions may be required! Each horse is unique, so adapting to its needs may involve thinking outside the box, but every patient should be able to achieve a diagnostic scan and receive appropriate treatment.
Preparation of the patient: inside the MRI room
It will pay dividends to follow best practice when putting a horse into the MRI magnet. There’s a lot to consider and time spent in getting this step right will be time well spent.
Get the horse comfortable
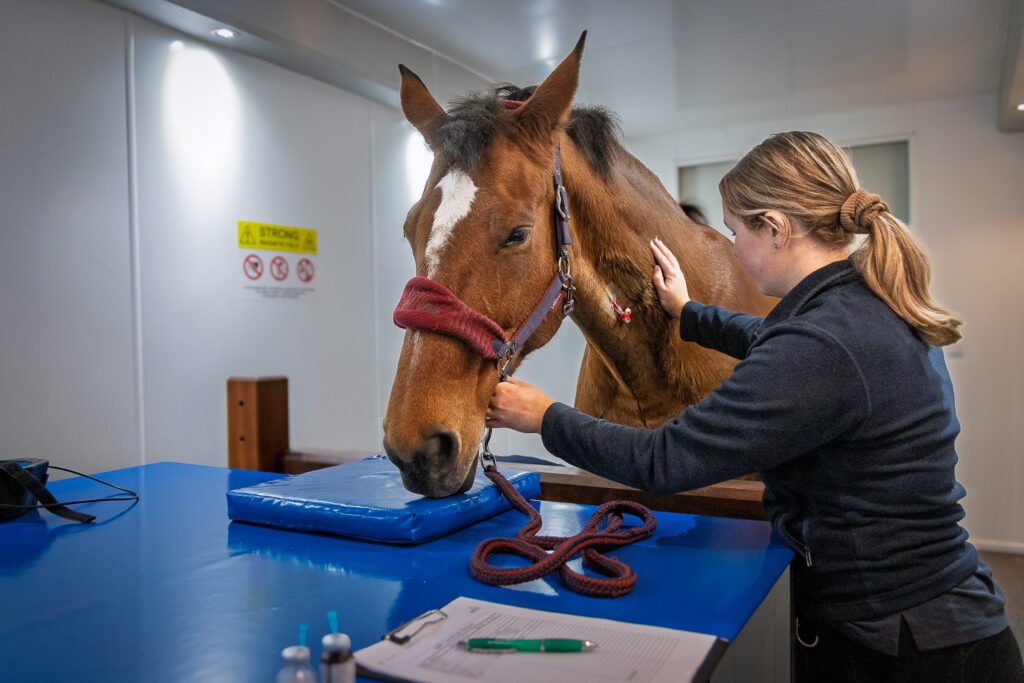
The first step in imaging the proximal limb of a standing sedated horse is ensuring the horse is comfortable and relaxed. After sedation, it’s important to give the horse time to adjust to the environment and settle.
Moving too quickly can startle the horse, leading to unnecessary stress and movement that could disrupt the scan or require re-sedation. Establishing a calm atmosphere allows for smoother handling and reduces motion, which leads to better imaging results.
Even weight distribution
Achieving even weight distribution across all four limbs is crucial to the success of the imaging process. If the horse shifts its weight, it may distort the images or require repositioning. Handlers should monitor the horse’s stance closely, adjusting as needed to ensure the horse maintains a balanced weight distribution. A relaxed and evenly supported horse will be less likely to move unexpectedly during the scan.
Head carriage
Appropriate head carriage is essential to maintain balance. A slight adjustment to the horse’s head can shift its weight and affect its stance. For example, dropping the head down and forward encourages more weight on the front limbs, while raising the head shifts the weight backward. Moving the head and neck to one side shifts the weight onto the ipsilateral forelimb. Careful attention to head positioning helps distribute the horse’s weight as needed for the scan. A skilled handler can make these subtle adjustments, ensuring the horse stays balanced and comfortable throughout the process.
Toe out or in?
It’s important to monitor the horse’s limb positioning, especially the orientation of the feet. The limb should ideally remain neutral, but some horses may naturally toe out or in. Excessive inward or outward rotation of the toe can place unnecessary strain on the joints and affect the alignment for the scan. Keeping the feet in a neutral or slightly outward position ensures that the limb is properly aligned with the magnet.
Fetlock position
The fetlock should remain in a natural, neutral position. Any signs of rotation or angling could interfere with the scan. Ensuring the fetlock is positioned correctly allows for clear imaging of the proximal limb without distortion or artefacts.
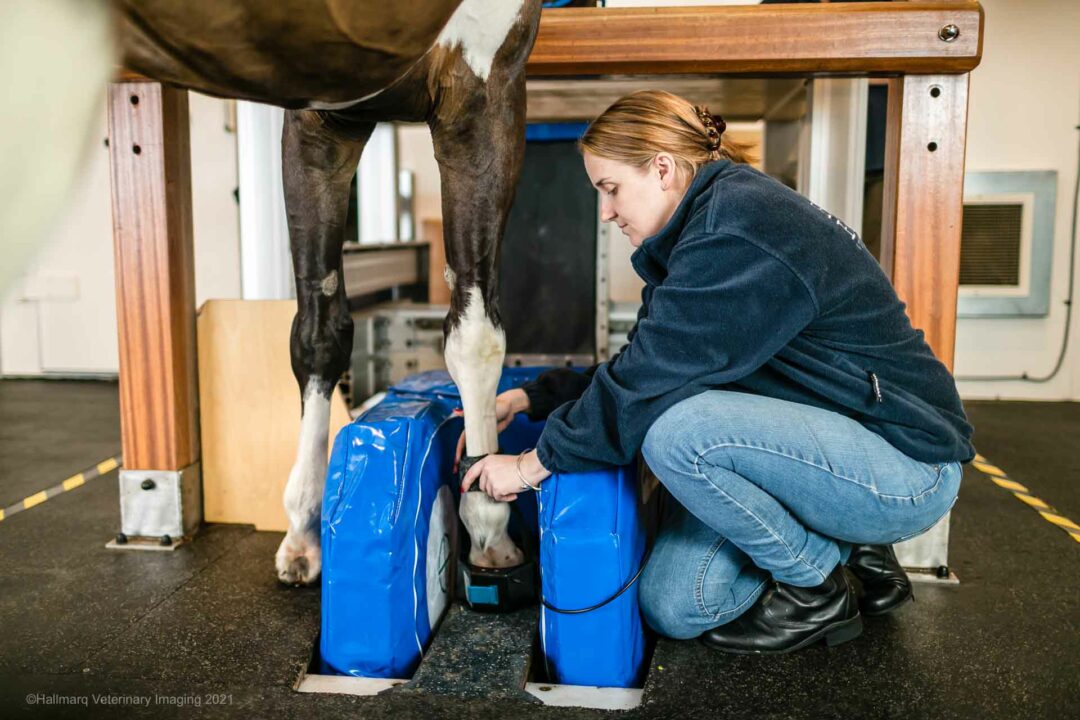
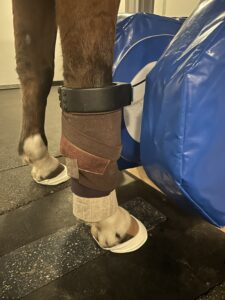
Bandaging
Bandaging the limb before positioning helps stabilise the limb and prevent muscle twitches during the scan. However, it is important to bandage after the limb has been properly positioned to avoid the risk of the bandage slipping or altering its height during the scan.
A properly applied bandage also provides a stable surface for the MRI RF coil and can be adjusted easily as needed.
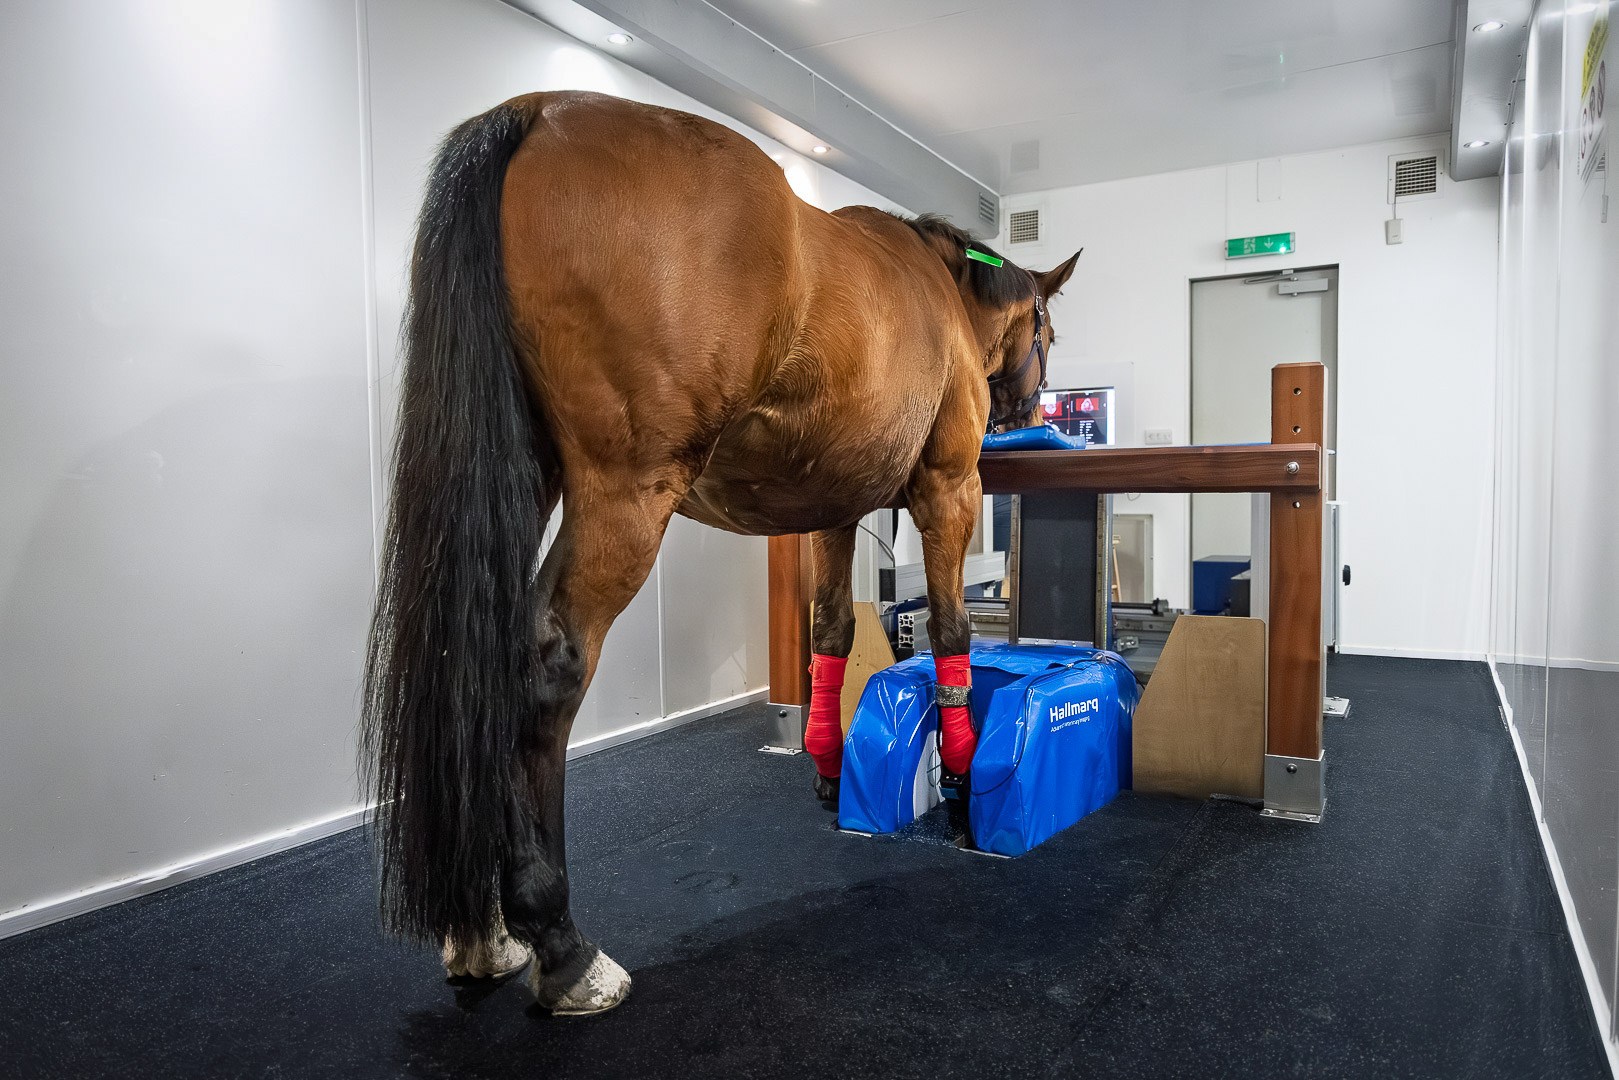
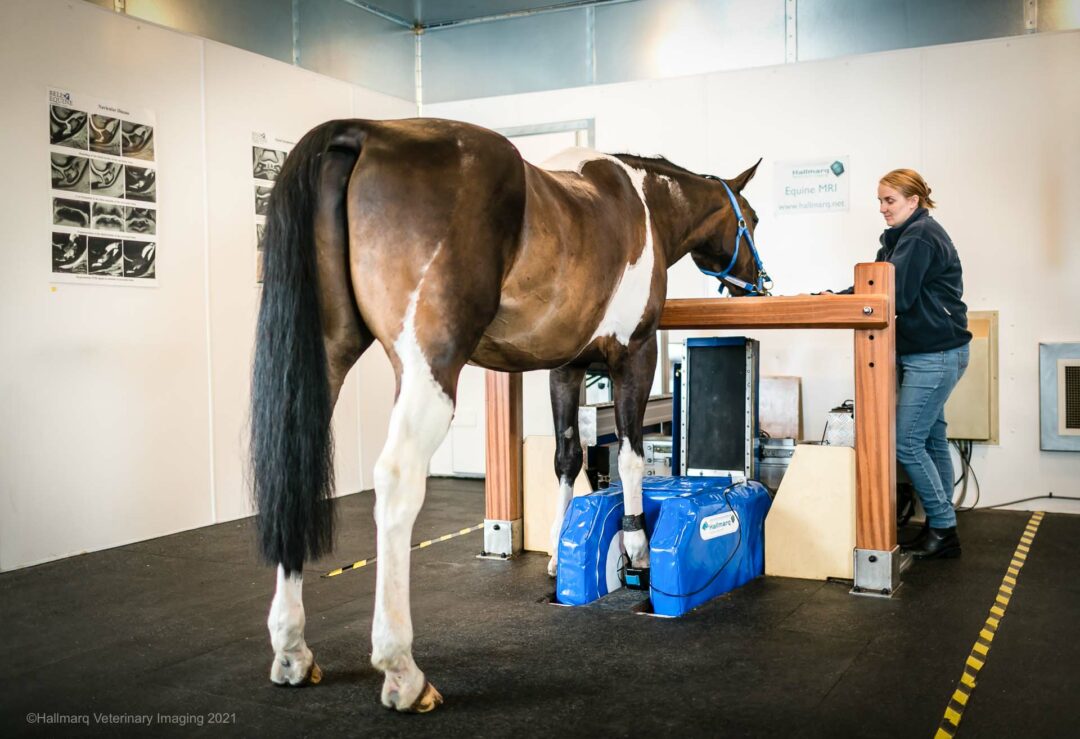
Alignment of the MRI magnet
Correct alignment of the MRI magnet when scanning the proximal limb is key to obtaining high-quality images. Spend time ensuring the magnet is perfectly in line with the limb before beginning the scan – tilting the magnet in line with the limb if appropriate. Misalignment can lead to poor image quality and artefacts.
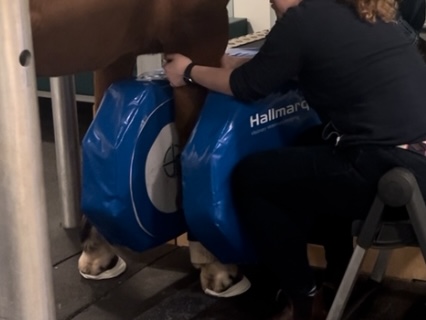
By positioning the magnet before bringing the horse into the magnet, you avoid unnecessary adjustments and minimise disruption to the patient. Generally horses will tend to move medially as the scan progresses. Initial positioning of the limb to accommodate for this so is important. As the scan progresses you will then be able to easily adjust for limb movement and limit the likelihood of having to take the horse out of the magnet and completely reposition if you reach the limit of the medial-lateral adjustment of the magnet mid scan.
Take your time!
It’s essential not to rush the process. Moving too quickly or startling the horse with sudden movements – like hitting the opposite limb with the magnet for example – may cause the horse to react, potentially ruining the scan. Take the time to let the horse relax in the environment, communicate with the handler, and make careful adjustments as needed. Keep a hand on the horse so you are in contact with the horse consistently through any adjustments, which gives the horse confidence. Avoid touching the horse unexpectedly. A calm, slow approach will reduce the likelihood of needing to reposition the horse, which can save time in the long run and ensure that high-quality images are obtained.
Coil positioning
Proper RF coil positioning is critical to obtaining high-resolution images. The coil should be placed directly over the area of interest, and it must fit snugly around the limb without gaps. The coil can be embedded into the bandage material to stabilize its position if needed. In addition, manual stabilization of the leg or the use of padding materials like towels or sponges can help prevent unwanted movement. However, avoid giving the horse something to lean on, as this may encourage it to lean more heavily on that side, leading to further instability.
Teamwork: understanding anatomy for better decision-making
Pilot positioning
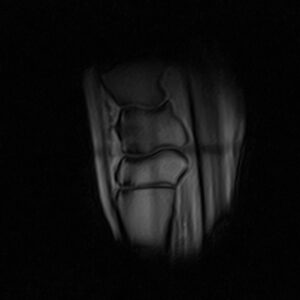
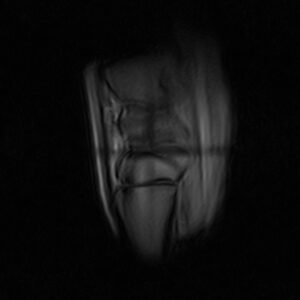
At the point when the team is ready to start imaging, clear communication between the operator and other team members is essential. As an operator, it’s important to know precisely how proximal or distal you need to go to fully evaluate the area being imaged (Figs 1. 2. and 3. below).
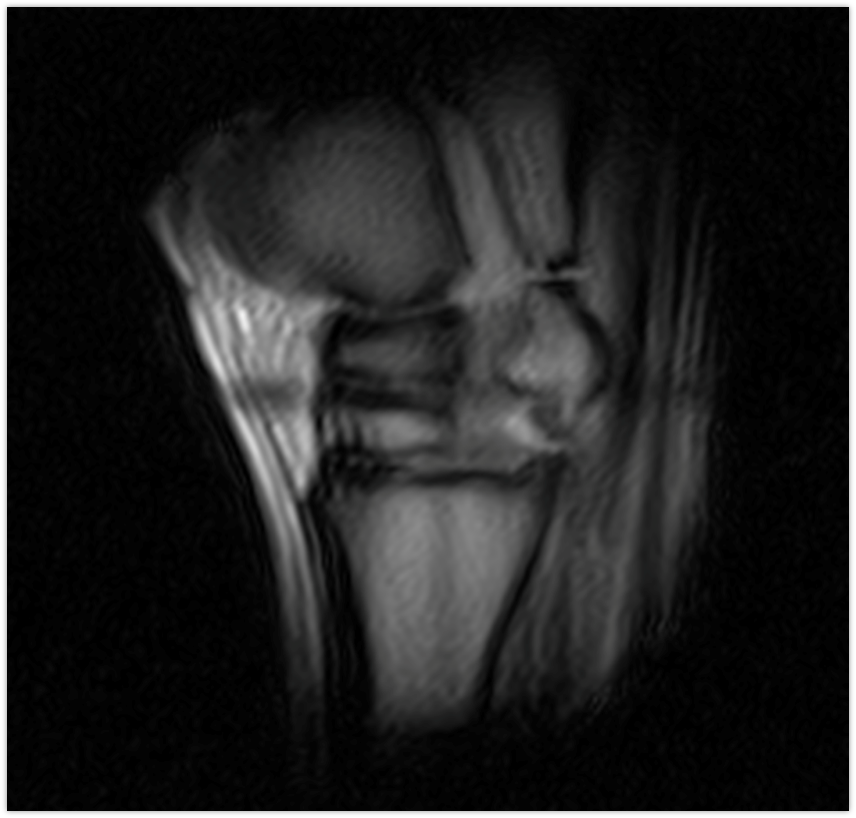


Sometimes, the initial request may focus on a specific region, such as the proximal suspensory ligament, but it’s crucial to remember that lesions can extend both proximally and distally. This highlights the need for a broader assessment of the entire area, ensuring that you don’t miss any potential issues that could significantly alter the course of treatment.
Awareness and case management
Understanding anatomy and lesion progression is key to making the right decisions. For instance, if you’re imaging the suspensory ligament and find a lesion at the origin, you may handle the case in one way. However, if the lesion extends to the mid-body, that changes the treatment plan dramatically. This is why the ability to track lesions both proximally and distally is critical, as it provides a clearer picture of the injury’s extent. When planning, it’s important to anticipate such variations and adjust the imaging accordingly to ensure a thorough evaluation.
Team coordination
Collaboration is vital during the imaging process. For example, starting the scan at the right height ensures you capture the necessary structures—such as positioning high enough to scan through the knee, whilst keeping the centre nicely aligned with the suspensory ligament. If the team is aligned in their understanding of the anatomy and scan requirements, this coordination helps achieve better imaging outcomes.
Coil position and signal quality
Fine-tuning the magnet’s coil just slightly can make a big difference. Adjusting the coil height by just an inch, for example, makes a significant difference in the signal distribution for both the proximal and distal areas of the scan. This highlights the importance of understanding the technology being used and how it interacts with the anatomy. Often, it’s not just about moving the magnet but recognizing how small adjustments in coil placement can optimise image quality. Clear communication between team members helps to ensure these adjustments are made efficiently.
The importance of correct sequence selection when scanning the proximal limb
Sequence selection
Choosing the correct protocol for the area you’re scanning is crucial when imaging the proximal limb of a standing horse. It’s important to have a clear understanding of why you’re selecting certain sequences, such as T1 and T2*. Knowing which sequence to use depends on understanding the pathology you’re dealing with.
For chronic injuries, you might need a different protocol than for acute injuries. For example to evaluate acute soft tissue injuries, consider if a fast spin echo is the more suitable option to include. Similarly, knowing when to check for STIR activity is key to making the right decisions for the scan.
Pathology and decision-making
A strong understanding of anatomy and pathology helps guide decision-making in real-time, allowing you to adapt your scan based on what you find. For example, you need to ensure that all relevant structures are captured in a single session to avoid having to repeat scans. If the horse becomes unstable or is likely to move, it’s best to avoid sequences that are highly sensitive to motion at this stage of the examination.
Previously, STIR sequences might have been chosen in such scenarios, but with the advent of newer technologies like Hallmarq’s iNAV for enhanced motion correction, sequence selection has evolved, allowing for improved imaging under these conditions.
Time considerations and image acquisition
It’s essential to align your sequence selections with the anatomy you’re imaging and consider the time required for each scan. By understanding the shapes and angles of the structures, you can position the MRI sequences to be perpendicular or parallel, reducing the chance of obliquity and minimising artefacts. For instance, when imaging the limb, if the horse leans or shifts, you may need to reposition the coil or adjust the scan sequence to ensure you get accurate, artefact-free images.
Real-time adjustments and patient positioning
Because the horse is not always perfectly still during the process, real-time decision-making becomes crucial. The horse may have shifted slightly since the last scan, requiring the operator to pilot and adjust accordingly. If you assume your patient is always on the move and you are trying to be accurate with your slice position, rechecking, adjusting and repiloting when required is crucial. This adaptability ensures that artefacts are minimised, and the anatomy is accurately imaged.
Efficient scanning for pathology
When scanning for pathology, particularly with complex injuries, you need to be aware of the horse’s ability to remain still for the required duration. For example, instead of running a 16-slice sagittal sequence, which could take four minutes (longer than a horse might comfortably stand still), it’s better to reposition, reduce the scan width and aim for a two-minute scan – but run 2 shorter scans instead. This ensures the horse can remain steady, and the image is still clear enough for diagnosis.
Artefact management
Artefacts can obscure key anatomical structures and complicate image interpretation. To avoid this, it’s important to understand how anatomy and sequence selection interact. If, for example, the requested scan is to assess the suspensory ligament but a flow artefact cuts through the margins, this will make it difficult to assess. You would need to adjust the positioning and orientation of the artefact by changing the phase encoding direction, tailoring the scan to the specific structure you’re targeting.
On the spot decision making
In cases where pathology is identified during the scan, it’s vital to make on-the-spot decisions. For instance, if a lesion is detected high up in the transverse plane during the initial scan, the team can immediately adjust the protocol to ensure that the full extent of the lesion is captured. This avoids having to remove the horse from the scanner, wait for image review, and potentially re-scan the area. A good example of this is recognizing a tarsal bone fracture early and adjusting the scan to capture the affected area before finishing the session.
Understand the horse’s behaviour
Every horse is different, and some may stand still for long periods on one day but struggle to do so on another. It’s important to understand these limits when planning and executing scans. If the horse is particularly restless, it might not be productive to continue scanning for extended periods. In these cases, it’s better to take breaks or postpone further scans until the horse is more settled. This can prevent unnecessary stress on both the animal and the imaging team.
Target key areas first
When scanning multiple limbs or complex structures like the proximal limb, prioritise the most critical areas first. Since these scans can be more challenging and time-consuming, it’s best to start with the primary site of interest to ensure that the most important data is collected before the horse potentially becomes restless or tired. Breaks between scans also help maintain the horse’s (and imaging team’s) cooperation and comfort, leading to better imaging results.
Summary
The importance of teamwork cannot be underestimated when scanning the proximal limb on the standing horse. Committed staff and a team of people who are invested in the correct handling aspect are important in acquiring great images of the proximal limb. If everyone involved has a real interest and understanding of anatomy, pathology, and decision-making, then the more efficient your scanning is, and the better outcomes you’ll have.